
Preparing for Winter in Missouri
Published:
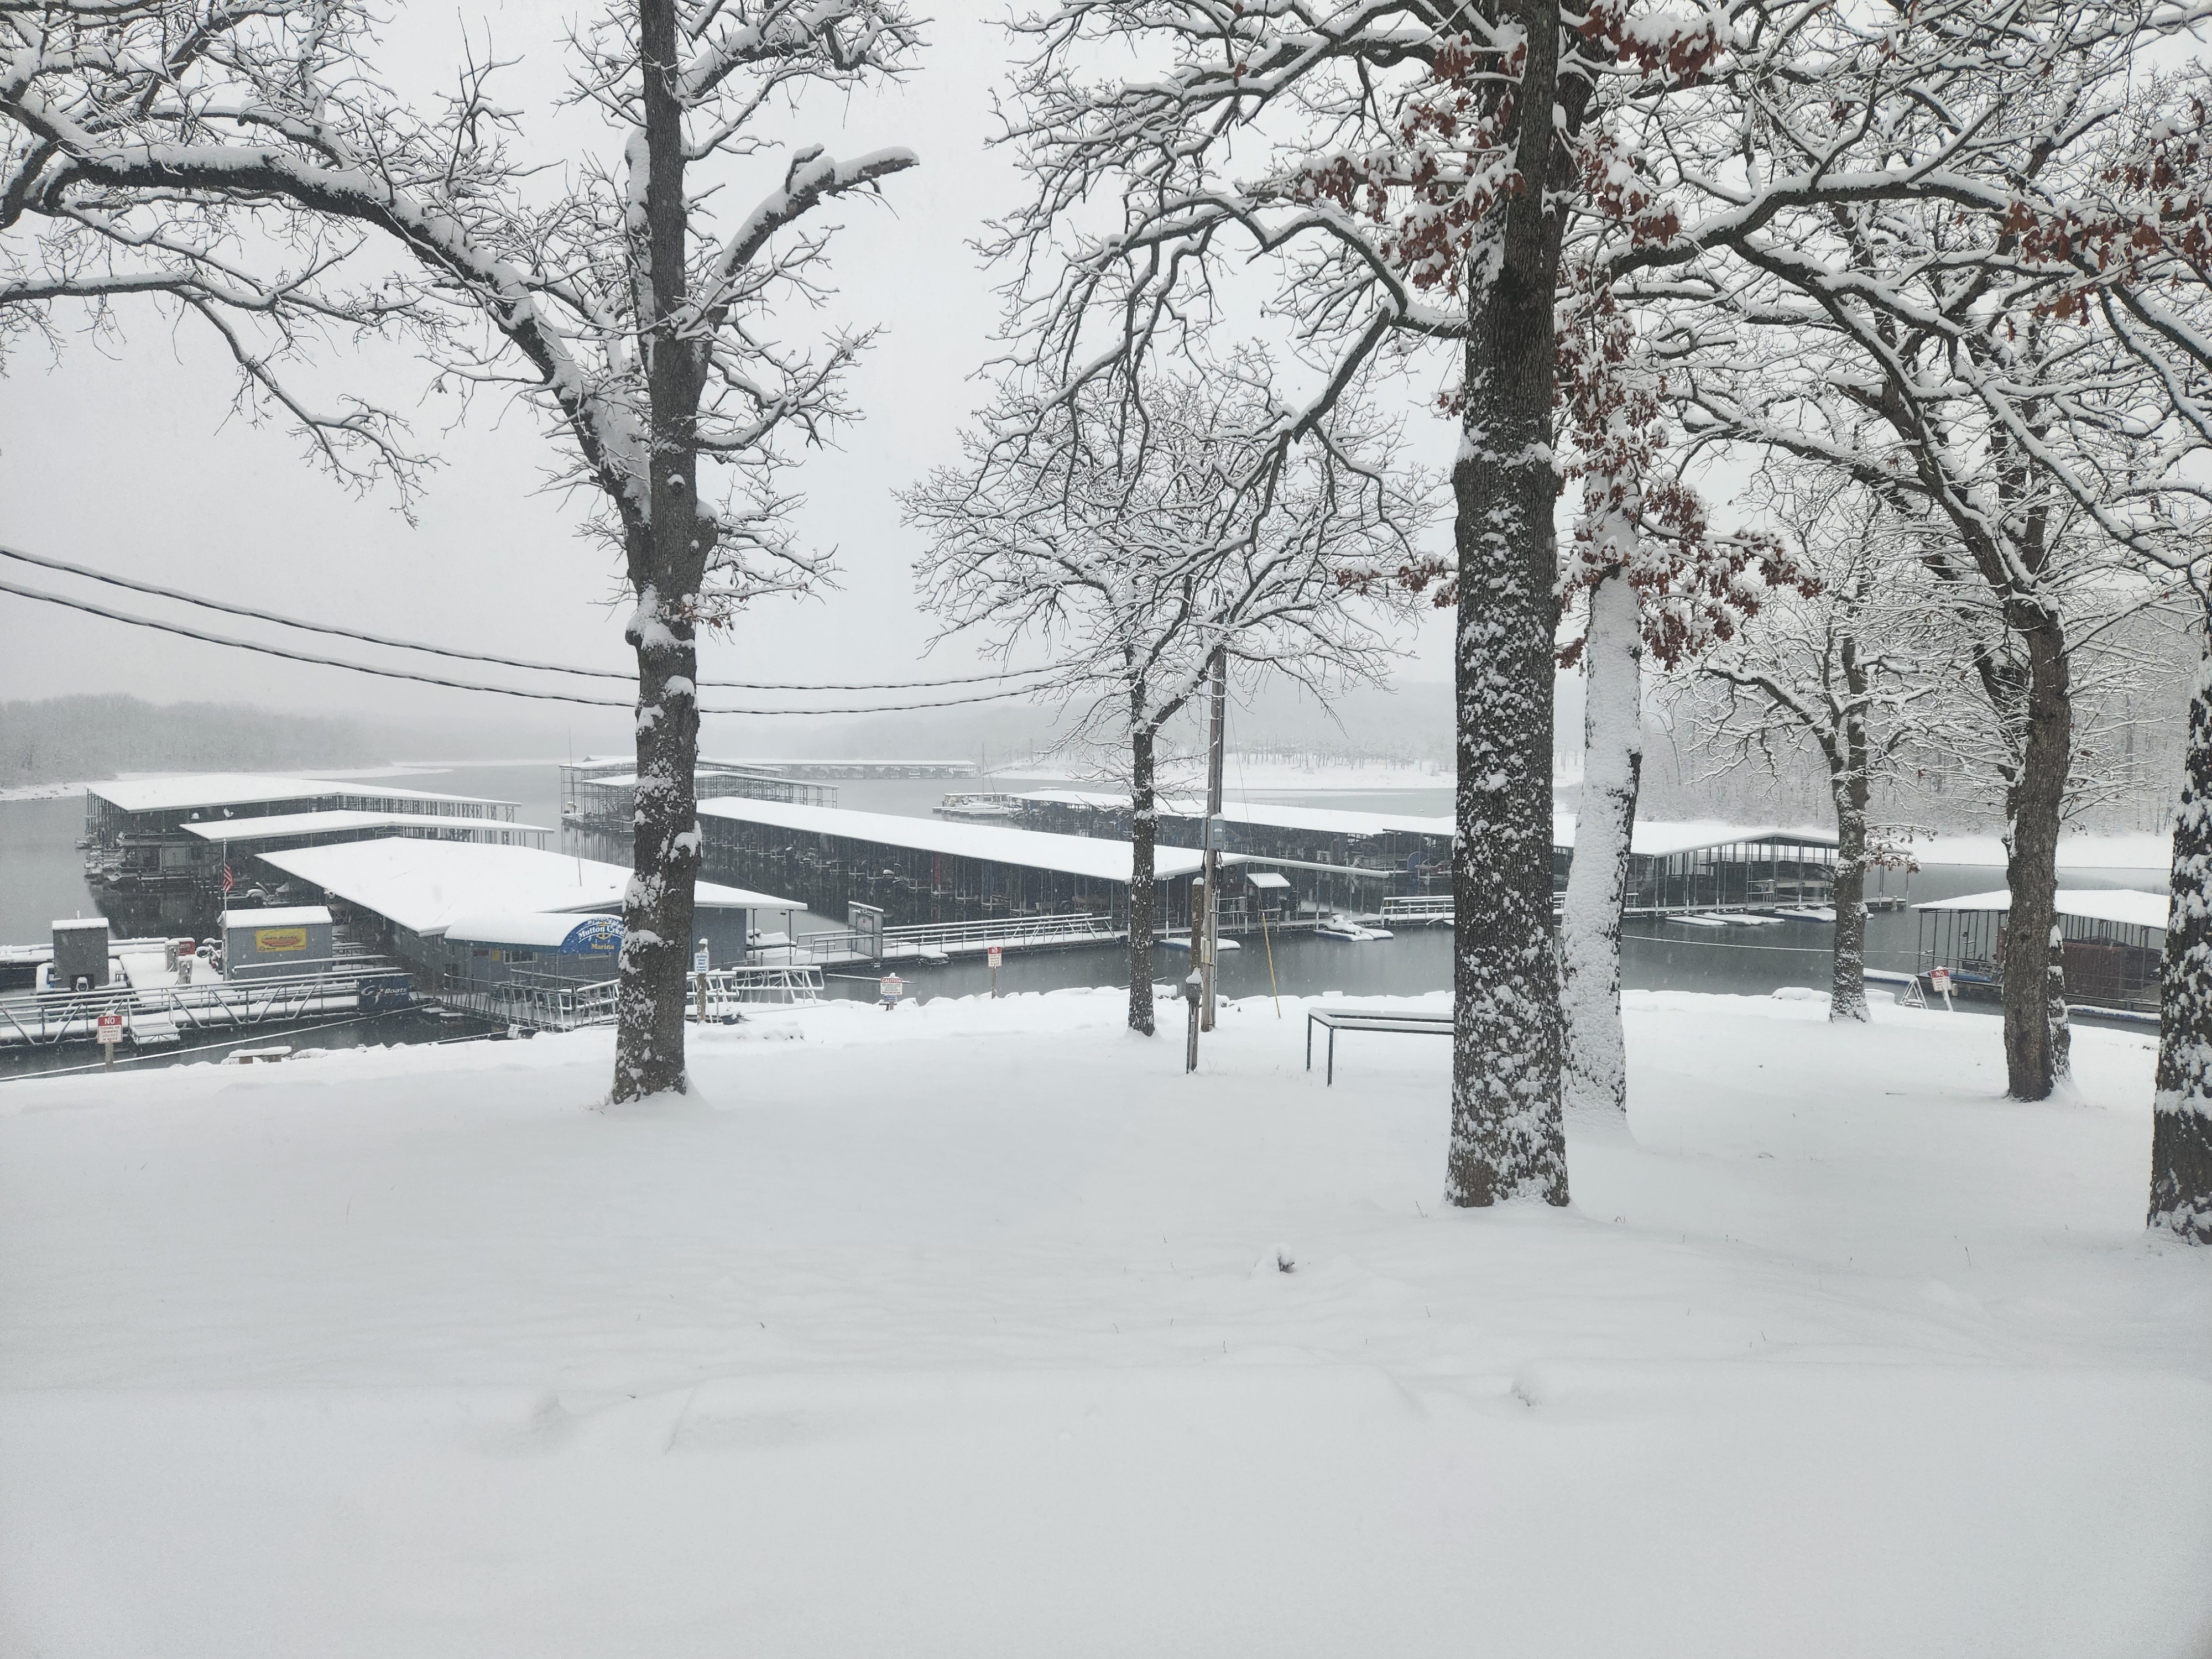
How to Winterize a Boat or Camper: Essential Steps to Protect Your Investment
When temperatures drop, the systems that make your boat or camper comfortable and reliable can quickly become vulnerable. Water expands as it freezes, fuel degrades, seals dry out, and batteries lose charge—often leading to expensive repairs and a frustrating start to the next season. Proper winterization is the difference between a smooth spring launch (or first trip) and a checklist full of avoidable problems.
This guide covers the necessary steps to winterize a boat or camper, with practical recommendations you can follow whether you’re storing at home, in a covered facility, or outdoors. While every model has unique requirements, these best practices apply to most setups and help you create a repeatable, thorough winter storage routine.
Why Winterization Matters (and What It Prevents)
Winterizing is primarily about preventing freeze damage and moisture-related issues. Common problems include cracked water lines, damaged pumps, ruptured hot water tanks, corroded engine components, mold growth, and prematurely failed batteries. A well-planned winterization process reduces downtime, preserves resale value, and improves reliability for the next season.
Step 1: Create a Winterization Checklist and Review Manuals
Before you begin, gather key information: your owner’s manual, winterization instructions from the manufacturer, and any add-on equipment documentation (aftermarket water filters, upgraded batteries, solar controllers, generators, or marine electronics). Your manual often specifies antifreeze type, engine oil recommendations, torque values, and special procedures that general advice can’t replace.
Also note where and how you’ll store the unit. Outdoor storage may require heavier-duty covers and more moisture control, while indoor storage may reduce UV exposure but still demands battery care and pest prevention.
Step 2: Clean Thoroughly to Prevent Odors, Mold, and Corrosion
Cleaning is more than cosmetic—it prevents long-term damage. For boats, rinse water residue from the hull, deck, and hardware. For campers, remove road grime and clean seals to prevent cracking.
- Interior: Remove all food, wipe down surfaces, empty trash, and clean the refrigerator and pantry areas. Leave the fridge door propped open to prevent mildew.
- Exterior: Wash, dry, and apply a protective wax or sealant if appropriate. Clean awnings and let them dry completely before retracting.
- Upholstery and soft goods: Vacuum and consider moisture absorbers to minimize mold risk during winter storage.
Step 3: Winterize the Plumbing System (Boat and Camper)
Plumbing winterization is often the most critical step because frozen water causes immediate and costly damage. Your approach depends on the unit’s configuration, but most owners choose a combination of draining and pumping RV/marine antifreeze (non-toxic propylene glycol) through the system.
Drain Water Completely
Start by turning off water heaters and water pumps, then relieve pressure by opening faucets. Drain all tanks and low-point drains:
- Fresh water tank: Drain fully and flush if needed.
- Water heater: Turn off power/fuel, allow to cool, then drain. Use bypass valves if your system has them.
- Gray/black tanks (camper): Empty and rinse tanks. Add appropriate holding tank treatment afterward.
- Bilge/livewell/washdown systems (boat): Drain and ensure pumps and hoses are cleared.
Pump Antifreeze Through Lines
Use only RV/marine antifreeze rated for your climate. Never use automotive antifreeze in potable water systems. With the water heater bypassed, pump antifreeze through:
- All faucets (hot and cold), including shower heads and exterior showers
- Toilets and sprayers
- Water filters (remove and bypass when possible; replace in spring)
- Ice makers or onboard water dispensers, if equipped
Finish by pouring antifreeze into P-traps and drains to protect seals and prevent freezing.
Step 4: Protect the Engine and Fuel System (Boat, and Some Campers)
Engines and fuel systems require special attention to prevent varnish buildup, corrosion, and freeze damage. This applies to boats (outboard, inboard, sterndrive) and to motorized campers or units with generators.
Stabilize Fuel
Add a quality fuel stabilizer and run the engine long enough to circulate it through the system. This reduces oxidation and helps prevent hard starts in spring. Many owners store with a near-full tank to reduce condensation, but follow manufacturer guidance and local storage requirements.
Change Oil and Filters
Old oil can contain contaminants that accelerate corrosion. Changing engine oil and filters before storage is a reliable preventative measure. If your unit has a generator, service it as well.
Fogging and Cooling System Protection (Boats)
Many marine engines benefit from fogging oil to protect internal components during long storage. For water-cooled engines, ensure the cooling system is properly winterized—commonly by flushing and introducing marine antifreeze per your engine’s procedure. Improper cooling system winterization is a leading cause of cracked engine blocks and manifolds.
Step 5: Battery Care and Electrical System Shutdown
Batteries can lose significant charge in cold weather, and a dead battery can freeze and crack. Proper battery storage preserves battery life and prevents corrosion at terminals.
- Disconnect or remove batteries: Especially if the unit will sit for months.
- Clean terminals: Remove corrosion and apply terminal protectant.
- Use a smart maintainer: A quality trickle charger/maintainer keeps batteries healthy without overcharging.
- Turn off parasitic loads: Shut off battery disconnect switches and verify electronics are not drawing power.
For campers with solar systems, verify how your charge controller behaves in winter storage and whether it will maintain or drain the battery depending on light conditions and temperature.
Step 6: Inspect Seals, Roofs, and Openings to Prevent Leaks
Water intrusion during winter can lead to rot, delamination, and mold. Walk around the unit and inspect:
- Camper roofs and seams: Check caulking, vents, skylights, and ladder mounts.
- Boat hatches and windows: Ensure gaskets are intact and drains are clear.
- Slide-outs and rubber seals (camper): Clean and condition per manufacturer recommendations.
Address small cracks now—winter freeze-thaw cycles can rapidly worsen minor seal failures.
Step 7: Tires, Suspension, and Storage Positioning (Mostly Campers, Helpful for Trailers)
Long-term storage can create flat spots and accelerate tire aging. Protect your tires and running gear:
- Inflate tires to recommended pressure and inspect for cracks or uneven wear.
- Use wheel covers to protect from UV exposure.
- Consider leveling and stabilizing to reduce strain on the frame and suspension.
- Chock wheels and engage parking brakes only as recommended for your configuration.
For boats on trailers, also check bearing lubrication and consider servicing hubs if they’re due.
Step 8: Pest Prevention and Moisture Control
Rodents and insects look for warm, sheltered areas in winter. Prevent infestations and interior damage by sealing access points and removing attractants.
- Seal entry points: Inspect around plumbing penetrations, vents, and storage bays.
- Remove fabrics and paper goods if your storage location has known pest activity.
- Use moisture absorbers or a small dehumidifier (where safe and practical) to reduce condensation.
Step 9: Cover Correctly and Choose Smart Storage
A proper cover is a critical layer of protection—especially outdoors. Use a breathable, well-fitted cover that sheds water and resists tearing. Avoid trapping moisture, which can cause mold and corrosion.
For boats, ensure the cover is supported to prevent pooling. For campers, verify that roof edges and gutters can handle snow load, and remove heavy snow accumulation safely as needed.
Step 10: Document Everything for an Easier Spring Start-Up
Keep a simple record of what you did and what supplies you used (antifreeze gallons, stabilizer brand, battery removal date, filter part numbers). Label keys, store manuals together, and note any repairs to schedule in spring. A few minutes of documentation can save hours when it’s time to de-winterize.
Final Thoughts: A Consistent Winterization Routine Pays Off
Winterizing a boat or camper is an annual maintenance task that protects plumbing, engines, electrical systems, and interior components from cold-weather damage. Focus on the fundamentals—drain and protect water lines, stabilize fuel, care for batteries, prevent leaks, and control moisture. If you’re uncertain about engine procedures or model-specific requirements, consult your dealer or a qualified marine/RV technician. The cost of professional winterization is often far less than the cost of repairing freeze damage.
With the right steps completed now, you’ll be positioned for a faster, safer, and more enjoyable start when warmer weather returns.